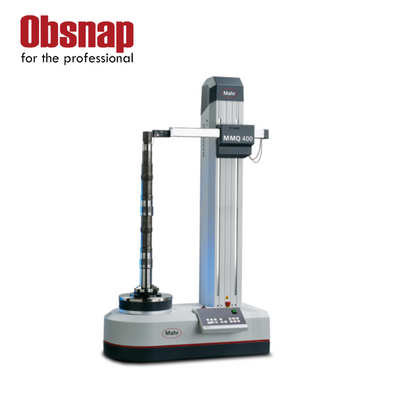
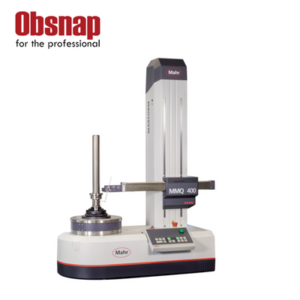
Mahr Metrology MarForm MMQ 400 (5440782)
The MarForm MMQ400 range is the flexible, fully automated solution for form and position measurements and much more.
The use of extremely smooth axes and the MarWin platform software ensure that other applications, such as roughness, waviness, and contour measurements can be completed.
The flexibility and versatility provide a highly cost-effective measuring system which pays for itself in the shortest amount of time.
High-precision measuring axes in Z and X make every form measuring task possible. There are MarForm MMQ 400 versions available for
- High-precision workpieces
- Unusually long workpieces
- Large and heavy workpieces
- Use in production or in inspection rooms
Choose from a range of modules available to optimally customize the MarForm MMQ 400 to your requirements:
- Motorized or manual centering and tilting table
- Vertical axis (Z) with a 900 mm, 500 mm or 350 mm measuring length
- Horizontal axis (X) with a 180 mm or 280 mm measuring length and with digital linear scales in axes X and Z. For measurements where finding the exact, reproducible measuring position affects the result
- Optionally with motorized tailstock
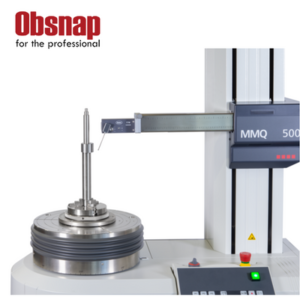
The T7W measuring probe has a motorized rotational axis which allows you to move the probe arm gradually into any desired contact position. It can be used for measurements on both cylindrical surfaces and end faces. In addition, as a zero position probe, the T7W can also switch between inner and outer measurements or between top and bottom end face measurements automatically, without operator intervention. Fully automatic measuring sequences on complex workpieces can be performed without operator intervention. The T7W probe arms are interchangeable. With its motorized rotational axis you can also create multi-point probe arms – i.e. probe arms with multiple contact elements – allowing you to switch between different stylus ball geometries within a measuring run.
Combine the checking of form and position tolerances with the monitoring of roughness parameters. The motorized, program-controlled switching between the form probe and the roughness probe make it possible to measure roughness and form in one clamping movement thus saving time and money.
