We had discussed what is a VMS and how it works in our previous articles. Today, we will discuss the application of a VMS and why that is a need of VMS. In our daily life, we can use a ruler, calliper, protractor ruler or measuring tape to measure the dimension and angle of an object. These methods can be simply classified as contact measurement.
 Digital Calliper
However, when we go to the production line or quality control department of an industry, such as automotive, plastics injection, part assembly, electronic, etc. Contact measurement may not be suitable for their product, it is impractical to use such equipment to measure objects which are:
1. Too small. For example, screw, pen tip, chip, etc.
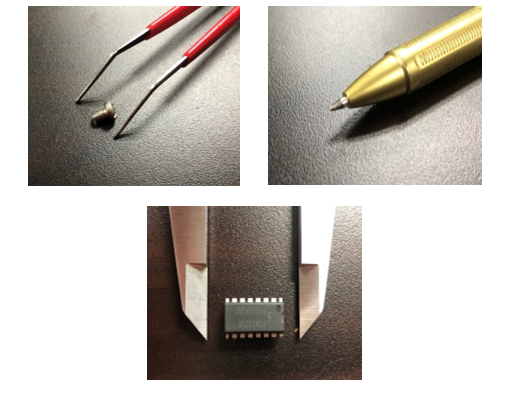
Screw, Pen Tip and Microchip
2. Irregular and uneven surfaces. For example, small plastics parts, small metal parts, etc.
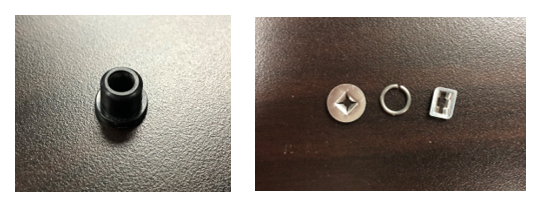 Small Plastics Part and Small Metal Parts
3. Soft and easy to deform materials. For example, rubber, spring, etc.
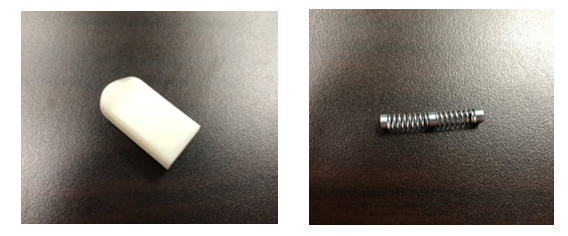 Rubber and Spring
4. Complex structures. For example, a metal part to be assembly, etc.
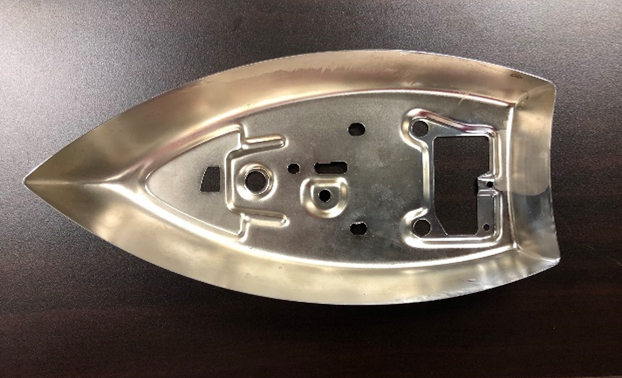
Complex Metal Part
For objects with such properties, contact measurement are hard to provide a precise, accurate and high repeatability measurement results. The measurement results can be very dependent to the operator and easily cause human errors. For instance, for soft and easy to deform materials, the measurement results will fluctuate when force is applied. It will greatly reduce the overall accuracy of the measurement results. Therefore, this is not acceptable for the companies with good quality control. In fact, a small error in their product due to measurement can led thousand-to-million-ringgit loss in their production line.
To overcome these issues, non-contact measurement is a better choice. Non-contact measurement uses light system to capture image without touching the surface of the part, it allows measure at high speeds and long distance with no damage to target material. Besides, it can provide a better accuracy and higher precision measurement results. For examples of non-contact measurement machine are a profile projector, VMS, etc. These machines are commonly in most of the quality control room and production line of a factory.
For profile projector, although it can provide accurate and precise measurement results, but it is old technology from half a century ago. The measurement process is slow because it required manual control.
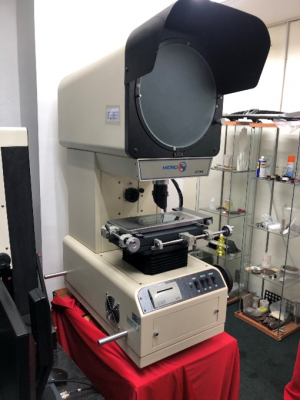
Profile Projector
Meanwhile, HANSVUE VMS is a better option for non-contact measurement. HANSVUE VMS is equipped with latest technology and developed for GD&T measurement.
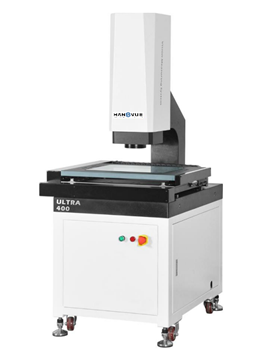
HANSVUE VMS ULTRA300
It equipped with automatic focusing, automatic lighting control, and automatic movement of hardware and software configuration to make the measurement of linear and geometrical dimensions quickly and accurately. HANSVUE VMS has:
1. Quality details control
- Granite base and column with excellent stability;
- Fast reacting and flexible motion control;
- Anti-scratch work stage with hard oxidation surface processing;
- High standard with precision linear guide, grinding ball screw, to ensure the precision and stability of the motion system;
- Integrated control system, embedded with motion control, and all signal control as illumination and linear scale reading, ensures the performance of the machine is extremely stable.

HANSVUE VMS
2. High performance configuration
- XYZ three axis CNC automatic control and accurate positioning;
- 1 um high precision glass linear scale to ensure the positioning accuracy and measurement accuracy of the system;
- GIGA high resolution colour camera to meet the needs of clear observation and accurate measurement;
- 5x high-resolution click zoom lens, accurate doubling and one times pixel correction only needed;
- With programmable surface 5-ring 8-division LED Cold Illumination and contour LED parallel illumination and built-in intelligent light adjustment, automatic control the brightness in the 8-division and realize 256 level brightness adjustment intelligently.
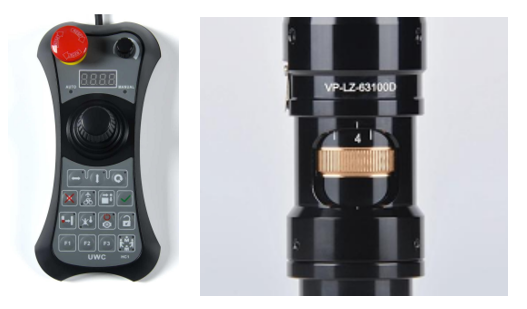
Controller and High-Resolution Optical Lens
3. Efficient Measurement Software
- With the External-Array RationalVue composite measuring software, the VMS is capable to offer powerful 2D/3D composite measuring function;
- Simple and easy to understand operation interface makes measurement simpler and efficient;
- Automatic measurement program can be set to complete batch measurement efficiently and quickly.
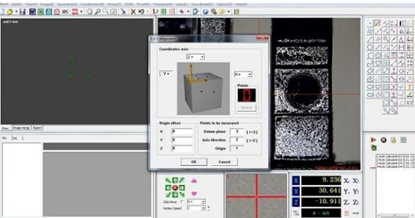
HANSVUE Metrology Software
4. Flexible Expansibility
- Multi types of non-contact sensors and fast fixturing system are for option, which can satisfy different measuring requirement from different customers
- Colour LED ring light is available, which makes the series more flexible and powerful to different parts with different kinds of materials or shapes, offers more powerful measuring application.
- Compatible with touch probe, non-contact measuring sensors and robot arm, highly increase the measuring efficiency.
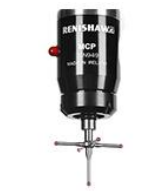
Touch Probe
Now, we will try to measure a spring of a mechanical pen using a calliper. First of all, we can observe that the size of the spring is very small, easy to deform and not easy to hold it using a calliper. When a little force was applied, the measurement results was fluctuating.
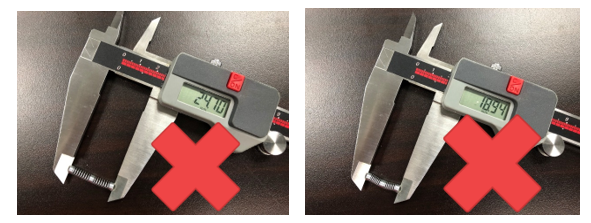
Measurement of Spring Measurement with Calliper
And now we use HANSVUE VMS ULTRA300 to perform the measurement. The spring was placed on the work stage and the images of the spring were captured by the high-resolution optical camera.
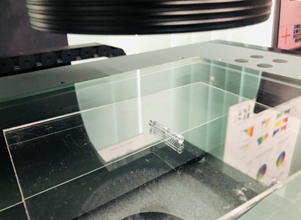
Spring under VMS
The captured images can be viewed on the the metrology software, UNIMETRO 2D. The details of the spring can be clearly seen. Then, we can perform measurement by drawing a line on the image using the CAD plotting function and we can easily obtain the length of the spring from the CAD drawing.
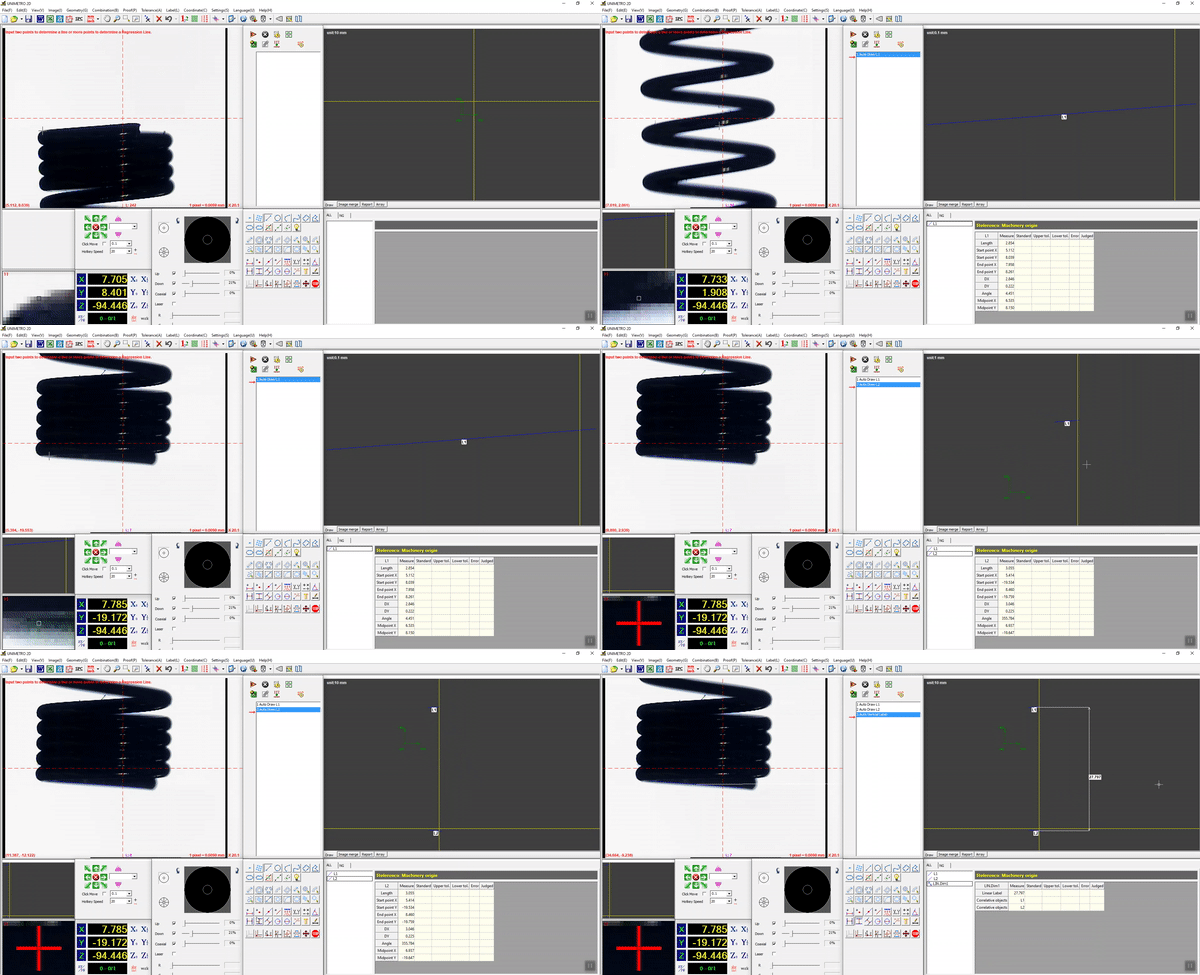
HANSVUE Metrology Software
Next, we tried to measure some metal parts with a calliper. As we can see, the part are too small to be measured or even hold with a calliper.
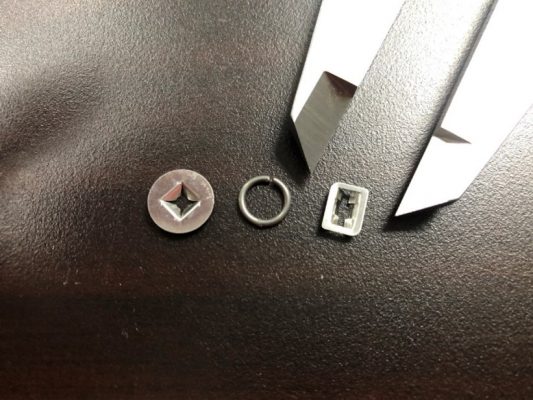
Measurement of Small Parts with Calliper
So, we used the HANSVUE VMS ULTRA300 to measure these small metal parts for the radius, diameter and angle. As shown in figure below We were able to obtain the CAD drawing for the metal part. With the CAD drawing, we can easily obtain the parameter such as the diagonal length, the diameter/radius of the circle, the radius for the arc, the angle of the corner and etc.
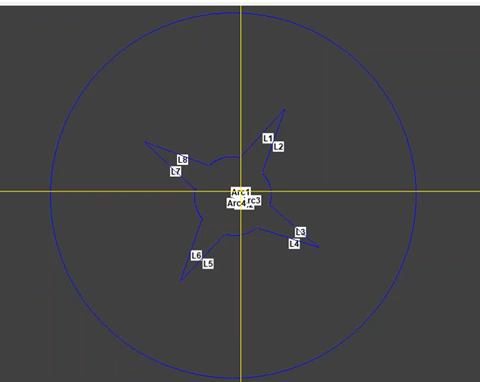
CAD drawing
Furthermore, we can set the standard; upper and lower tolerance and the system will judge the part whether it is within the tolerance range automatically. The report, measuring results and CAD drawing can be exported to different file format for further usage, such as Word file, Excel file, DXF file or a PDF file.

Screenshot of HANSVUE Metrology Software
Below are the sample for the PDF report and CAD drawing of the metal part that we measured using the VMS.
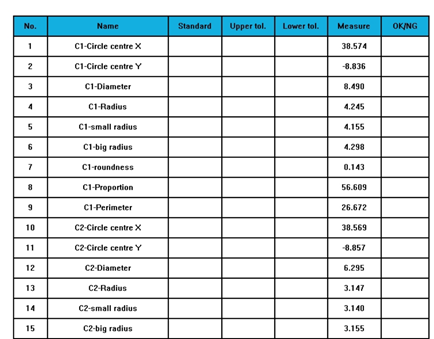
Measurement Results in the Report
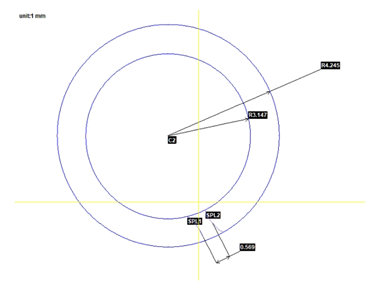
CAD Drawing in the Report
In nutshell, HANSVUE VMS is very convenient to be used for measurement, reversed engineering and quality control. It has the functions of image navigation, image filtering and enhancement, auto recognition, auto tolerance calculation, powerful weak edge detection, CAD input/output, and can be pre-programed to perform automatic measurement. Besides, it is very easy to be operate and user friendly. If you are interested in our HANSVUE VMS, kindly contact to our sales team at [email protected] for more information.

